Server
For this to work, we will be using SteamCMD - here’s how to set it up. We will be using Ubuntu Server 26.04 for this portion of the guide. From your terminal, enter these commands - to install SteamCMD, the multiverse repository and x86 packages must be enabled.
Ubuntu
sudo add-apt-repository multiverse; sudo dpkg --add-architecture i386; sudo apt update
sudo apt install steamcmd
Setup
You need a place to store the server - create a new directory, for example projectzomboid
mkdir ~/projectzomboid
Start installing the server from SteamCMD using this command:
/usr/games/steamcmd +force_install_dir ~/projectzomboid +login anonymous +app_update 380870 validate +quit
This will tell SteamCMD to start installing the Project Zomboid server inside of ~/projectzomboid.
If you get
ERROR! Failed to install app '380870' (Missing configuration), you should try adding+@sSteamCmdForcePlatformType linuxto the command:
/usr/games/steamcmd +@sSteamCmdForcePlatformType linux +force_install_dir ~/projectzomboid +login anonymous +app_update 380870 validate +quit
Using playit.gg to share the server
Create and claim a new playit.gg agent, then create the tunnel.
Project Zomboid normally uses the following ports:
16261- Main Port16262- Secondary UDP Port
We will adjust these to work with playit.gg.
Create the Tunnel
Create and configure your tunnel as follows:
- Type: Project Zomboid
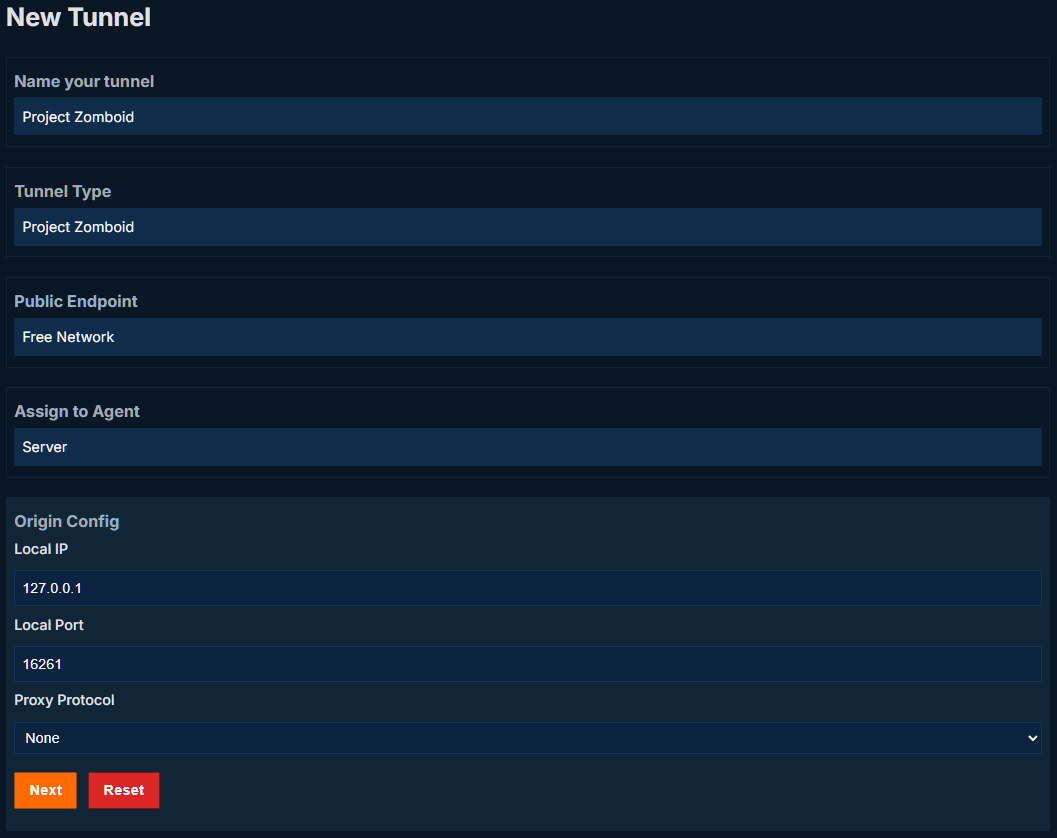
At this point, the tunnel will be active, but the game server will not yet be reachable. This is because the local server ports must match the tunnel’s assigned public ports.
Configure Server Ports
Although it will work without matching ports, we recommend that you do. Navigate to your Project Zomboid server configuration folder:
cd /root/Zomboid/Server
Inside, you will find files like:
server@playit:~/projectzomboid$ sudo ls /root/Zomboid/Server
servertest.ini  servertest_SandboxVars.lua  servertest_spawnpoints.lua  servertest_spawnregions.lua
Starting the server
Your file structure will look like this:
server@playit:~/projectzomboid$ ls
ProjectZomboid64       java   libpzexe_jni64.so  libsteamwebrtc.so  linux64  pzexe.jar      start-server.sh  steam_appid.txt  steamclient.so
ProjectZomboid64.json  jre64  libsteam_api.so    license            media    serialize.lua  stdlib.lua       steamapps
Run start-server.sh as root. We need to start the server in order to generate the configuration files for further setup.
sudo bash ./start-server.sh
When your server is fully started, you should see this in the console:
LOG  : Network      f:0 st:761,732> *** SERVER STARTED ****
LOG  : Network      f:0 st:761,734> *** Steam is enabled
LOG  : Lua          f:0 st:761,744> LuaNet: Initializing...
LOG  : Lua          f:0 st:761,749> LuaNet: Registering server listener...
LOG  : Lua          f:0 st:761,749> LuaNet: Initialization [DONE], triggering events for 'LuaNet.onInitAdd'.

### Edit `servertest.ini`

Open `servertest.ini` and locate:

```ini
# Default starting port for player data. If UDP, this is this one of two ports used. Min: 0 Max: 65535 Default: 16261
DefaultPort=16261

# Min: 0 Max: 65535 Default: 16262
UDPPort=16262
By default, these options start on line 57.
You can jump right to this line by using the +57 argument.
sudo nano -l +57 /root/Zomboid/Server/servertest.ini
Change this to match the public port assigned by playit.gg.
Example:
# Default starting port for player data. If UDP, this is this one of two ports used. Min: 0 Max: 65535 Default: 16261
DefaultPort=10233

# Min: 0 Max: 65535 Default: 16262
UDPPort=10234
Save the file.
Connecting to the Server
- Start the Project Zomboid server
- Open your playit.gg tunnel
- Copy the numeric IP address and port
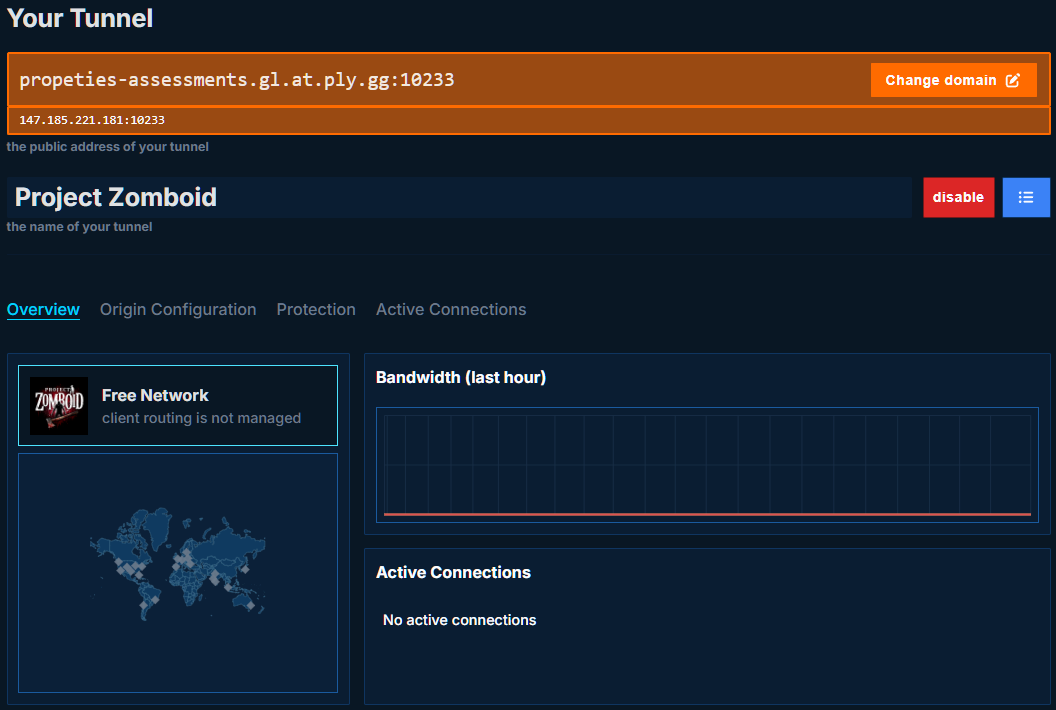
Example:
147.185.221.181:10233
Join the Project Zomboid server
- Launch Project Zomboid
- Click Join
- Enter the tunnel IP and port on the right‑hand side
- Under Connection Options, make sure:
Use Steam Relay = unchecked
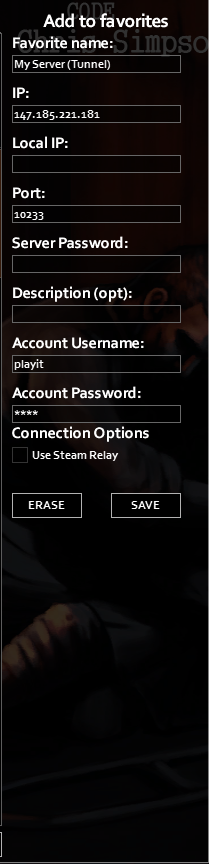
- Click Add
- Select the server from the list
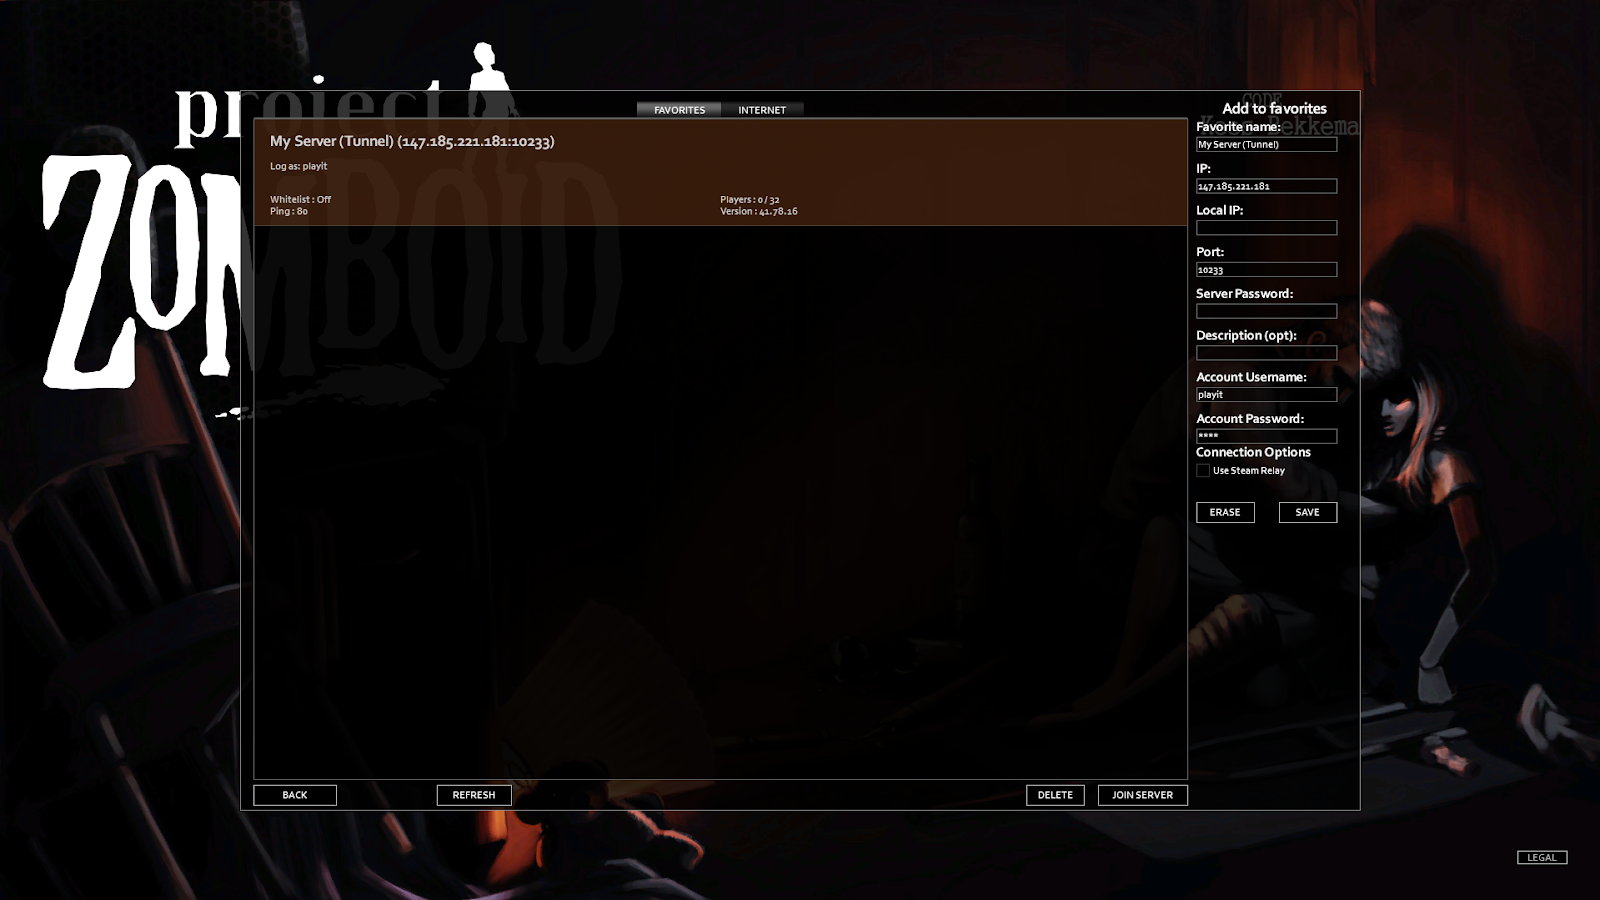
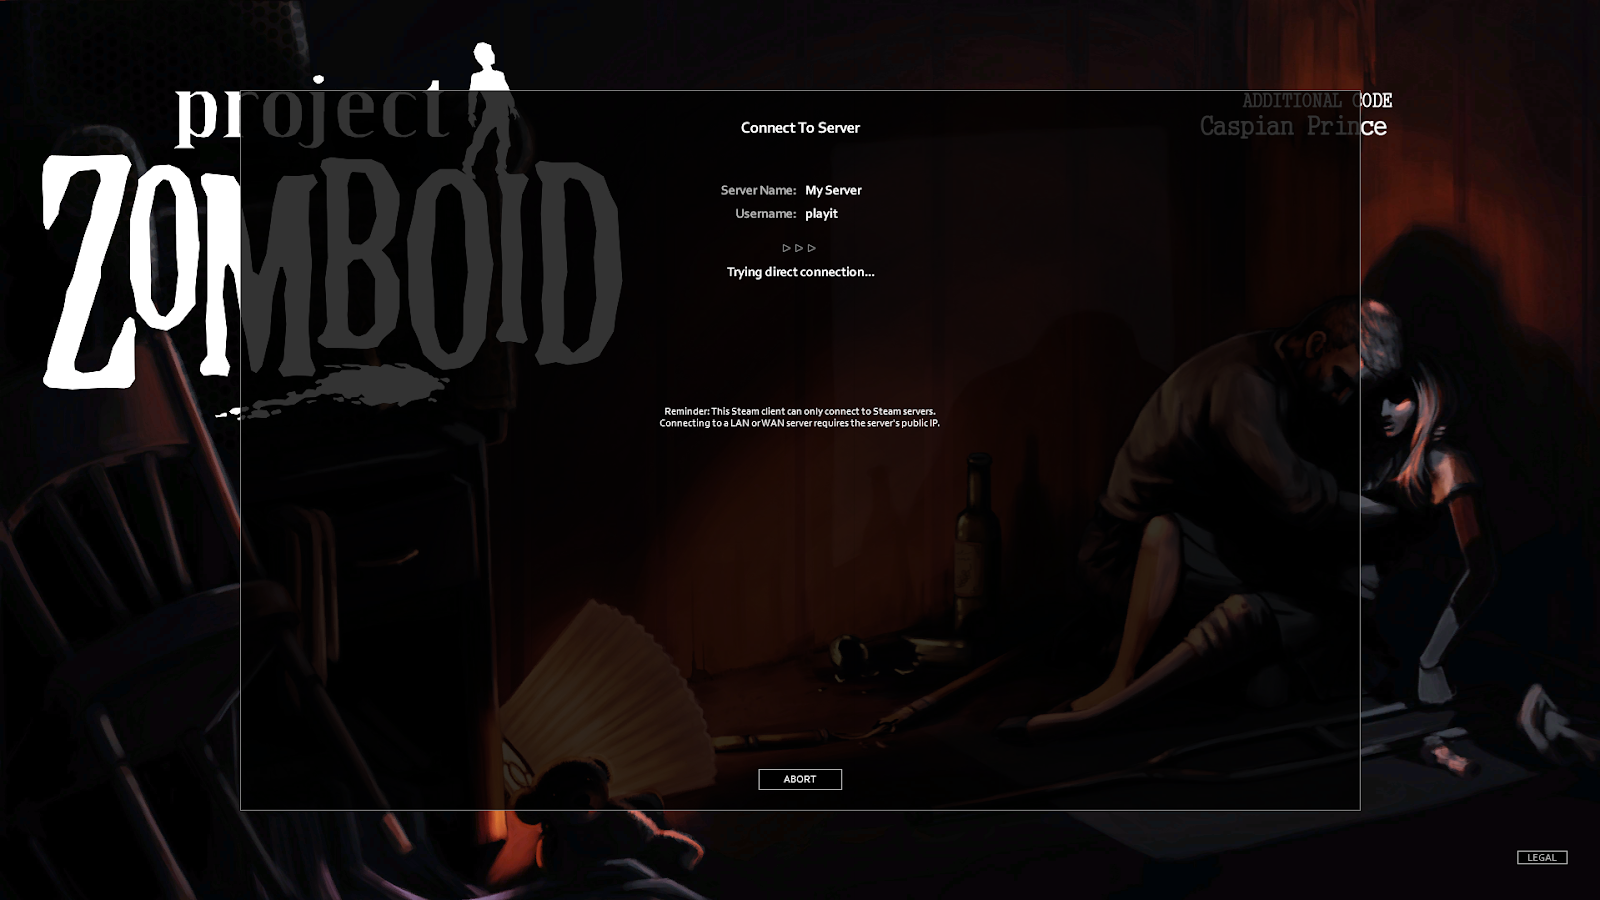
Server Is Live
The game server will now:
- Serve all game assets
- Apply server settings
- Store player data
To modify server settings, see the Project Zomboid Server Wiki .
Troubleshooting
Closed Port Warning

If you see a closed port warning:
- Double‑check that Use Steam Relay is disabled in the server list
- Confirm
DefaultPortandUDPPort* match the playit.gg tunnel ports
If using a custom UDP tunnel, UDPPort does not apply to you.
Done
Your Project Zomboid server should now be up and shared using playit.